Cob Rocket Stove Build
- By : Sarah
- Category : Building, Cooking, Materials, Off Grid Utilities
- Tags: clay, cob, natural building, rocket stove
We use our cob rocket stove outside half the year for all of our cooking. The other half of the year it’s cold out so we cook on the woodstove inside. We really love the rocket stove, but we could really, really, use another burner. I decided to try to build a new cob rocket stove with more burners, totally for free.
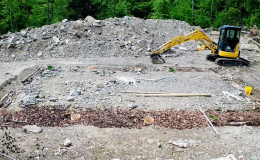
First, I built a base for the rocket stoves and a cob pizza oven. I had collected a bunch of rocks during my yard clean up project, so I stacked them up to make a solid, but less than beautiful, foundation for my burners.
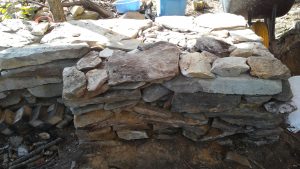
I topped off the rock pile with some clay/rock dirt that happened to be close by. Just enough to have a smooth base.
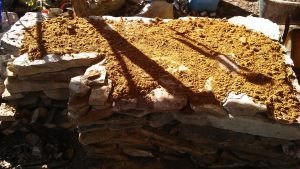
Once the base was ready to go, I collected and mixed my natural clay with some sand to get the correct ratio for building. My clay is almost the perfect ratio right out of the ground, so I barely add anything. For the base layer of cob, I added a healthy handful of straw to a half of a wheelbarrow of clay mix. I tried to get the ratio mote accurate, but I kept adding as I went until the mix seemed like it was right.
The base coat of cob is the perfect job for mini helpers. You can’t mess it up, but they will make a mess. It kept them busy for an hour.
Once they loose interest, just be sure it’s about an inch thick and the edge is smooth. None of this has to be perfect on the first try. If you do something that yoy don’t like yoy can easily re-wet the cob and redo it. Or throw whole chunks back into the wheelbarrow and do it over.
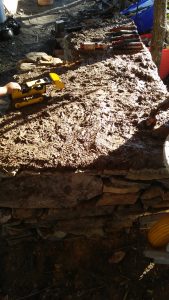
The next layer is the insulative beer bottle layer. The beer bottles between two layers of cob create air pockets and keep the heat of the oven in the oven. Once the bottles are all laid out, cover them with cob.
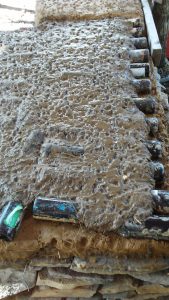
You will notice that it is really messy. You need to let the cob dry, sometimes for days, between layers. The rough edges allows the next layer to better stick to the dry cob. It also helps to wet the surface of the dry layer. The part of the base where the oven will eventually be is left very rough. The part of the base around where the rocket stoves go is smooth.
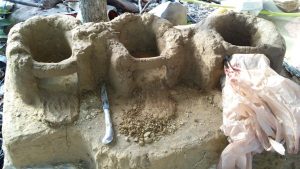
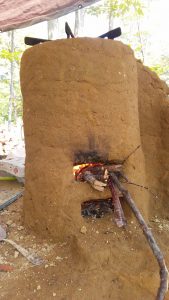
Then comes the experimental part. I looked all over the place for the perfect design for a cob rocket stove. Too many options. So we decided on a round stove with an additional opening to clean out ash. Every layer added on needs time to dry, don’t forget.
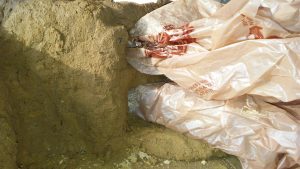
The plastic bags have scrap 2x4s in them to provide support for the openings while the cob dries.
Almost finished…
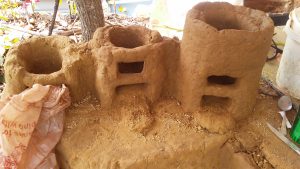
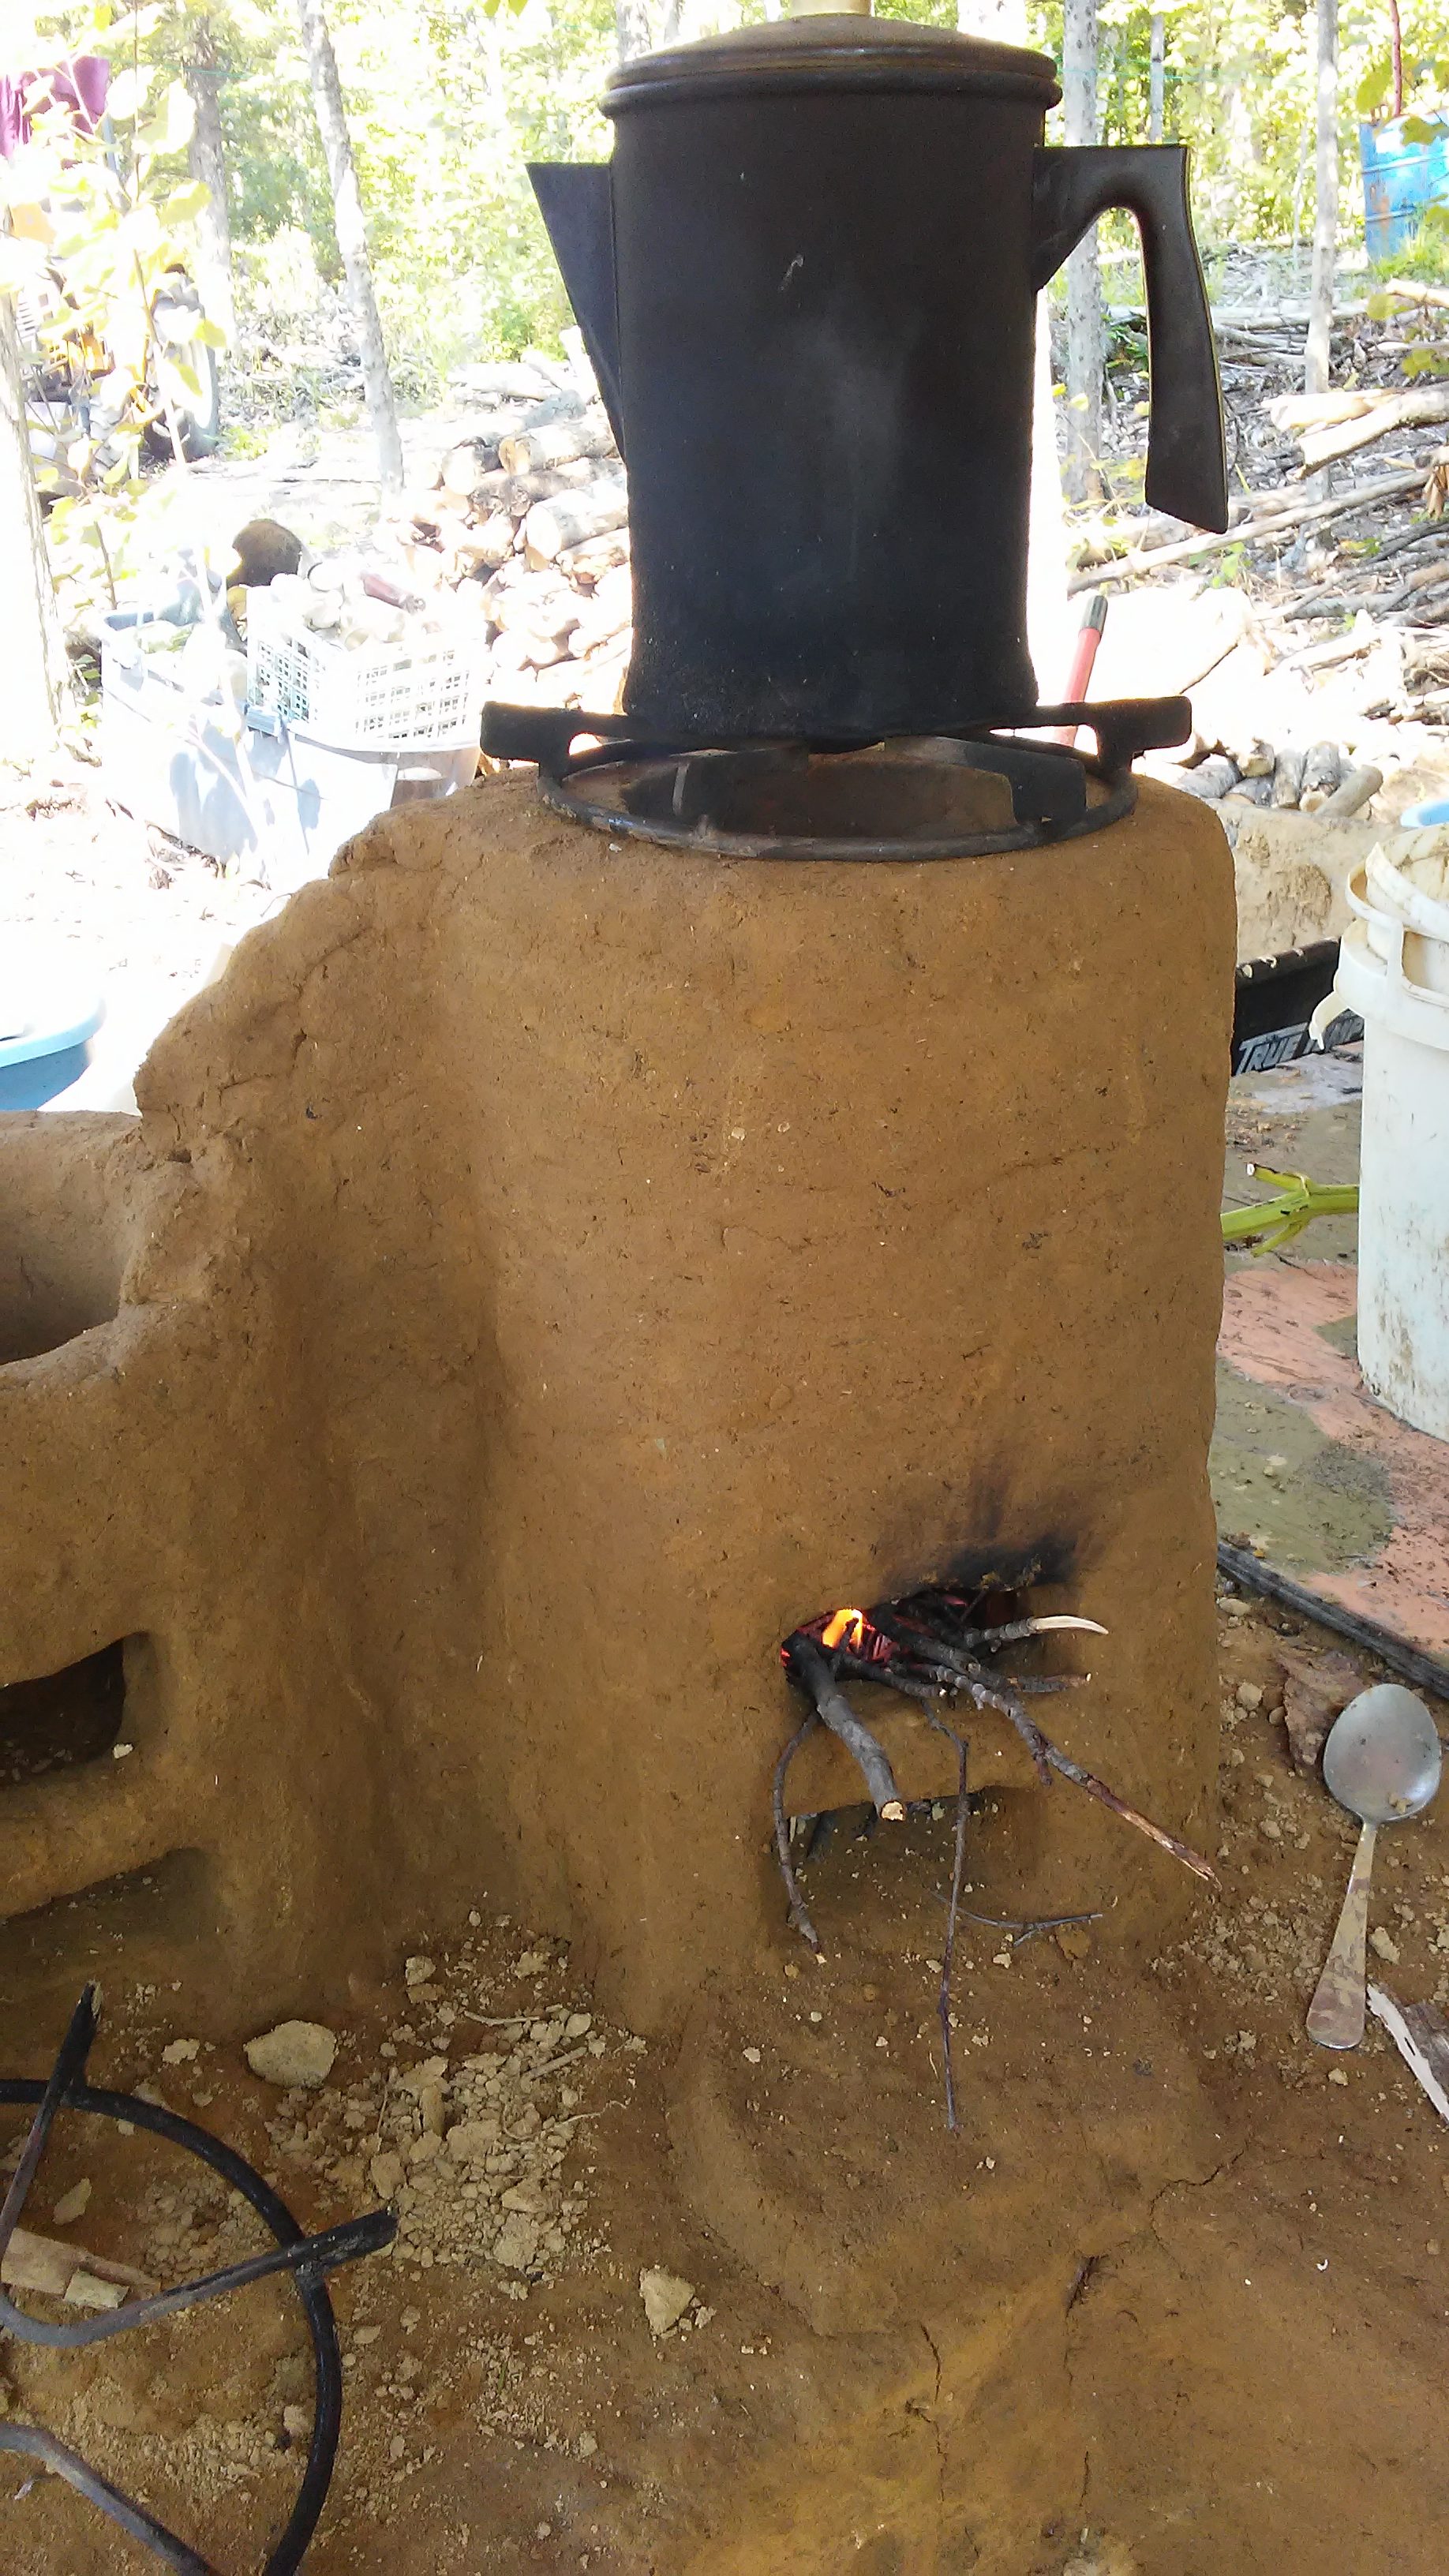
One stove is fired up. Perfect test run.
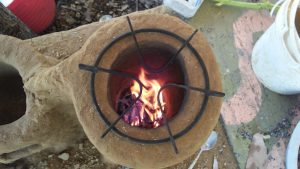
This whole cob rocket stove build is an experiment. We will use the first burner for a little while and see if we can’t make the other burners better.
Stay tuned…
And once you build your stove, get the T-shirt!

