Tiny House Interior: Shelving
- By : Sarah
- Category : Building
- Tags: interior, shelving, tiny house
This is the moment I have been waiting for for a long, long time! Of course, it’s mostly my fault that it has taken so long to get this project going. The very first, permanent storage area in the tiny house, over a year after we moved in. The only project that is more exciting will be the tub. The tub that I have been waiting just as long for….
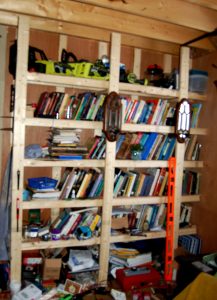
I found a magazine a while back that I believe was called “Storage Solutions,” but I’m not sure because the cover was not completely intact anymore. There was a very basic shelving unit built out of 2×4’s (cheap, solid, not terribly beautiful). Solid is what matters so I decided to follow this design and change it just enough that I could attach it right to the wall. There weren’t difficult angles to cut or anything. This worked out perfectly since my tools are under the cabin somewhere. All I really have is the new set of battery powered tools we bought that we can easily charge with our little solar set up. These tools work really well for what they are designed for, not precision.
I can’t really give a good commentary as to what I was doing, so enjoy the pictures!
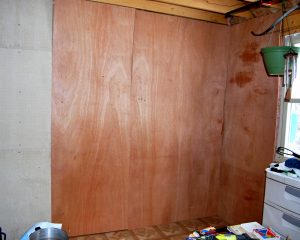
Step one: Hang walls
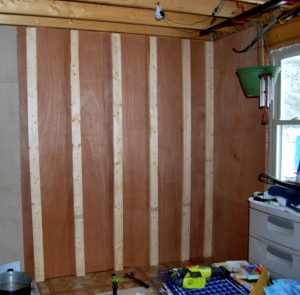
Step two: Hang 2x4s and 2x3s
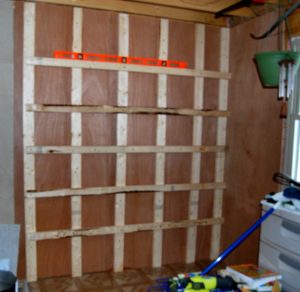
Step three: Add the front face
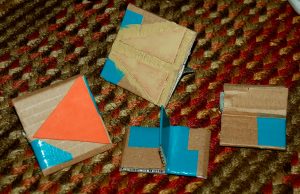
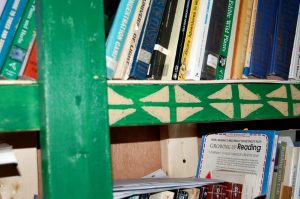
Step four: Make sponges for decorating
Step five: Paint
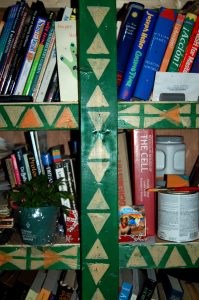
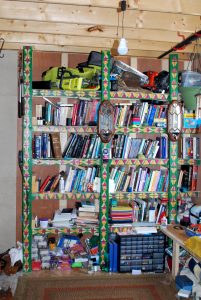
Step six: Fill shelves….yes, this is when you should put stuff on the shelves. Not before you paint them. Makes it harder. From experience.