Just found my way to your blog Sarah, even though we have been FB friends for awhile… So glad I did. I’m looking forward to reading all your entries and learning from what you are doing. I’m heading the same direction, but behind you in many ways. Thanks for sharing. 🙂
DIY Sourdough Starter
- By : Sarah
- Category : Cooking
- Tags: bread, sourdough, wood stove
Cooking
4
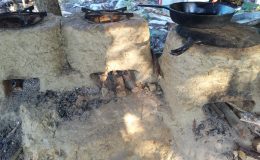
Happy Thanksgiving! While we are on the topic of food, I would like to complain about it for a second. I always have a hard time finding recipes and methods for cooking when you have only a small wood stove to cook on. I know there aren’t huge amounts of people that have this problem, but I would like to help fix it anyways. Almost every Thursday I would like to do a post about cooking on our little wood stove. This first post won’t be specifically about cooking, it provides the base for many recipes I will share.
Cheap bread is not good for you and not delicious. Delicious, healthy bread is expensive. The only other option is too make my own bread. I have made bread before, and it’s not too difficult, but I don’t have an oven anymore. And I don’t have a refrigerator to store the yeast. So now what? Take the plunge and make sourdough starters and learn to bake on a wood stove.
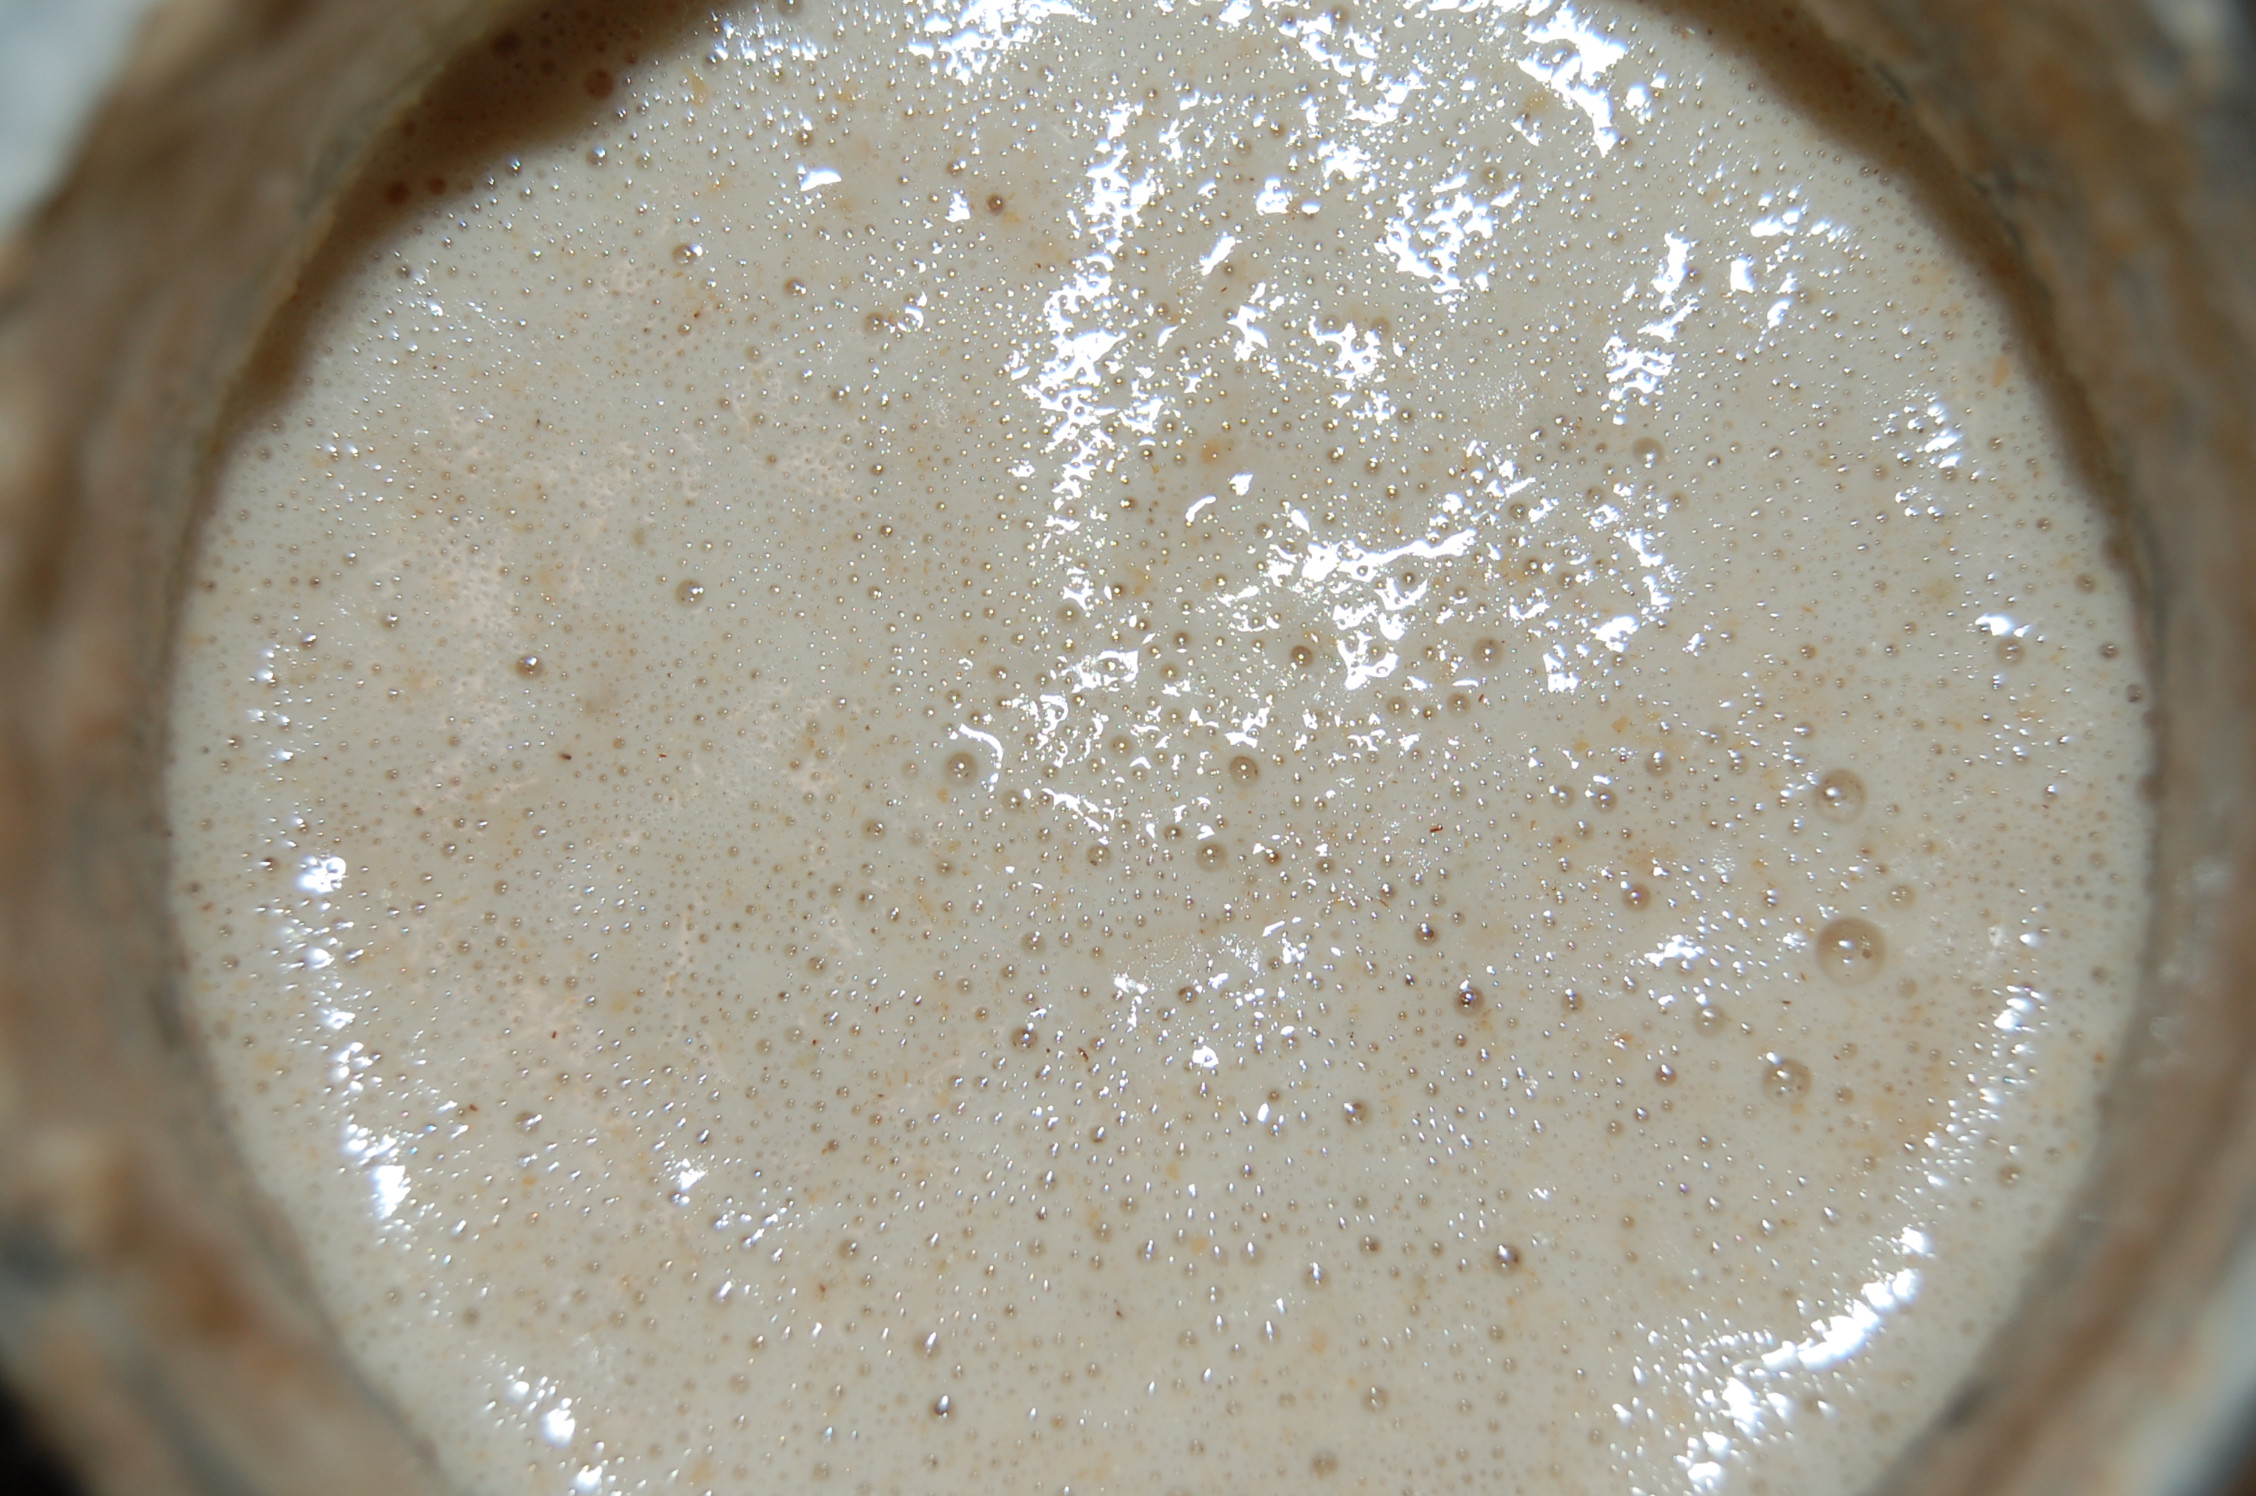
First things first. How do I make a starter? Actually, it was far less intimidating than I had expected. Combine one cup of flour (preferably rye) with one cup of water (it should not have chlorine or other chemicals in it. I chose to mix mine up in a quart mason jar and instead of the lid I used a paper towel and screwed it on with the ring. It stays in place nicely, allows the good bacteria in and bugs out. I poked tiny holes in the top, just in case the paper towel wouldn’t allow for air flow. But beware of bugs when opening your starter up. Mine was open for 5 minutes and a fly got into it!
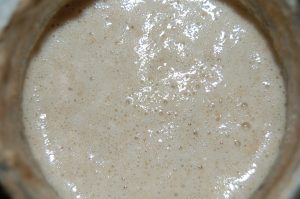 You need to keep your starter warm while it is feeding and the bacteria are growing. This is what mine looked like on the second day. The recipe I had found said to add 1/4 cup of water mixed with 1/4 cup flour everyday to keep the starter going. When the starter is nice and bubbly, 3-5 days, it is ready to use.
That’s it. Very simple. There are ways to store it in a fridge but I don’t have one so I can’t really speak to that. My method is to make bread often and then refill the starter as I go. I try to double the amount I have when the starter is getting low. That is what I have for now. As I get better with the starter and the bread making, I will share more information.
Next Thursday: Sourdough Biscuits
Here is a link to some good recipes I have found including breads and wood stove cooking.

