Bushcraft Hut for Autumn
- By : Sarah
- Category : Family, Nature Craft, Outdoor Building, Shenanigans
- Tags: autumn, bushcraft

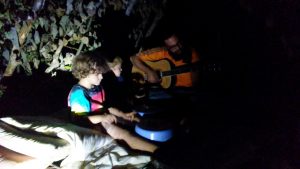
We decided that the best way to start autumn would be to practice our bushcraft skills. We would build a little hut near the firepit where we could lay out a blanket for picnics, storytime, singalongs, or whatever else the kids came up with. I am writing this very post in the hut by the fire.
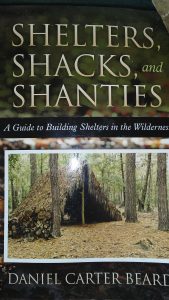
We started out with this book:
Then get to digging some post holes. Nothing too fancy, just enough to be able to bury the posts in some gravel so they stand. They will be more solid once the whole thing is up.
The posts were picked out of a pile of dead logs that I had stacked to cut into firewood. He found a couple with nice “y”s at the top.
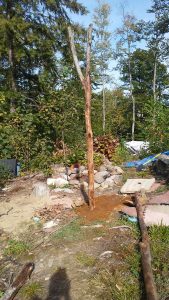
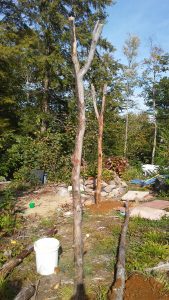
Once the posts are standing tall, another pole is laid across the top of the posts, it should rest nicely in the “y” part and should still be standing solid. The size of the poles depends on how big you want the hut to be. We didn’t really even measure them.
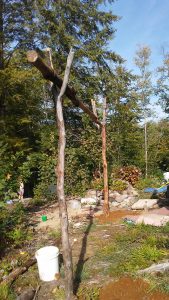
Next we laid two more poles on each end to form the triangle shape of this hut.
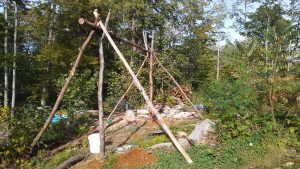
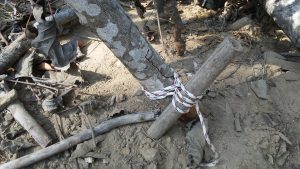
At this point, the Man got stung. I had to finish building by myself having no clue what he was doing. Luckily, it still works. I lashed (more like weaving the rope all around) the peaks where all the poles met up to make it more solid. One lash on each end. Then I put a stake in the ground next to each of the four corners and lashed that all together too.
We gathered about 6 more poles and laid them on the center pole, making more triangles like on the ends. At this point you can cover it with whatever you like, depending on how water proof you want it. A tarp would work just fine. I had a ton of small trees I had to cut anyway, so I lined these up all along the sides of the hut.
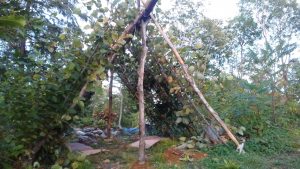

Party hut!

No Comments