If you are short of nitrogen then urine is a good additive, we use straw as our carbon, and if you want to get things going super fast and hot then a dead animal (rabbit, rat, cat!) normally does the trick.
I don’t turn my compost but then its humanure so it’s best left to age, but I regularly reach 65c\150f. With a little bit of imagination it could be used to heat your water 🙂
Gardening
6
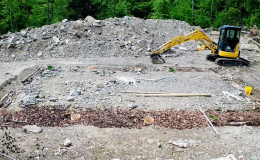
I have terrible soil. I am hoping to make enough compost to be able to support all the garden beds I set up in the fall. I set up raised garden beds and hugelkultur beds in hopes that they would begin to compost before I needed to plant. However, I need a lot of compost, really fast. Time to learn some hot composting!
Throughout the links I have read, there are various versions of hot composting. The Man even found me two very old books on composting at the library book sale for about $2.00 a piece. I really love the pictures in these book. Anyway, what I plan to do will be a combination of the methods that fits my homestead, schedule, and finances as best as I can.
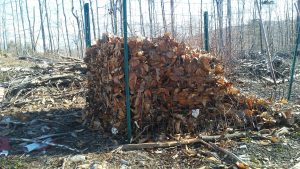
Something that all the versions had in common was the 4’x4’x4′ minimum pile size. I set up one pile now and will start a second pile once I have lined up more kitchen scraps. I also have plenty of leaves and an old pile of compost that can be mixed in. The old compost should provide more bacteria to help the composting process along.
I already have a bin set up for composting, so I will fix up this spot to suit my needs. Now to make the layers.
Layer one will be old branches piled nicely in the bottom. Using the branches will allow for more airflow and encourage the aerobic activity you want for your compost. Without enough airflow, you pile will smell awful. I do want to point out that the branches will get stuck in your pitch fork when you are turning the pile. Just don’t mix all the way to the branches and you will be fine. Easier said than done.
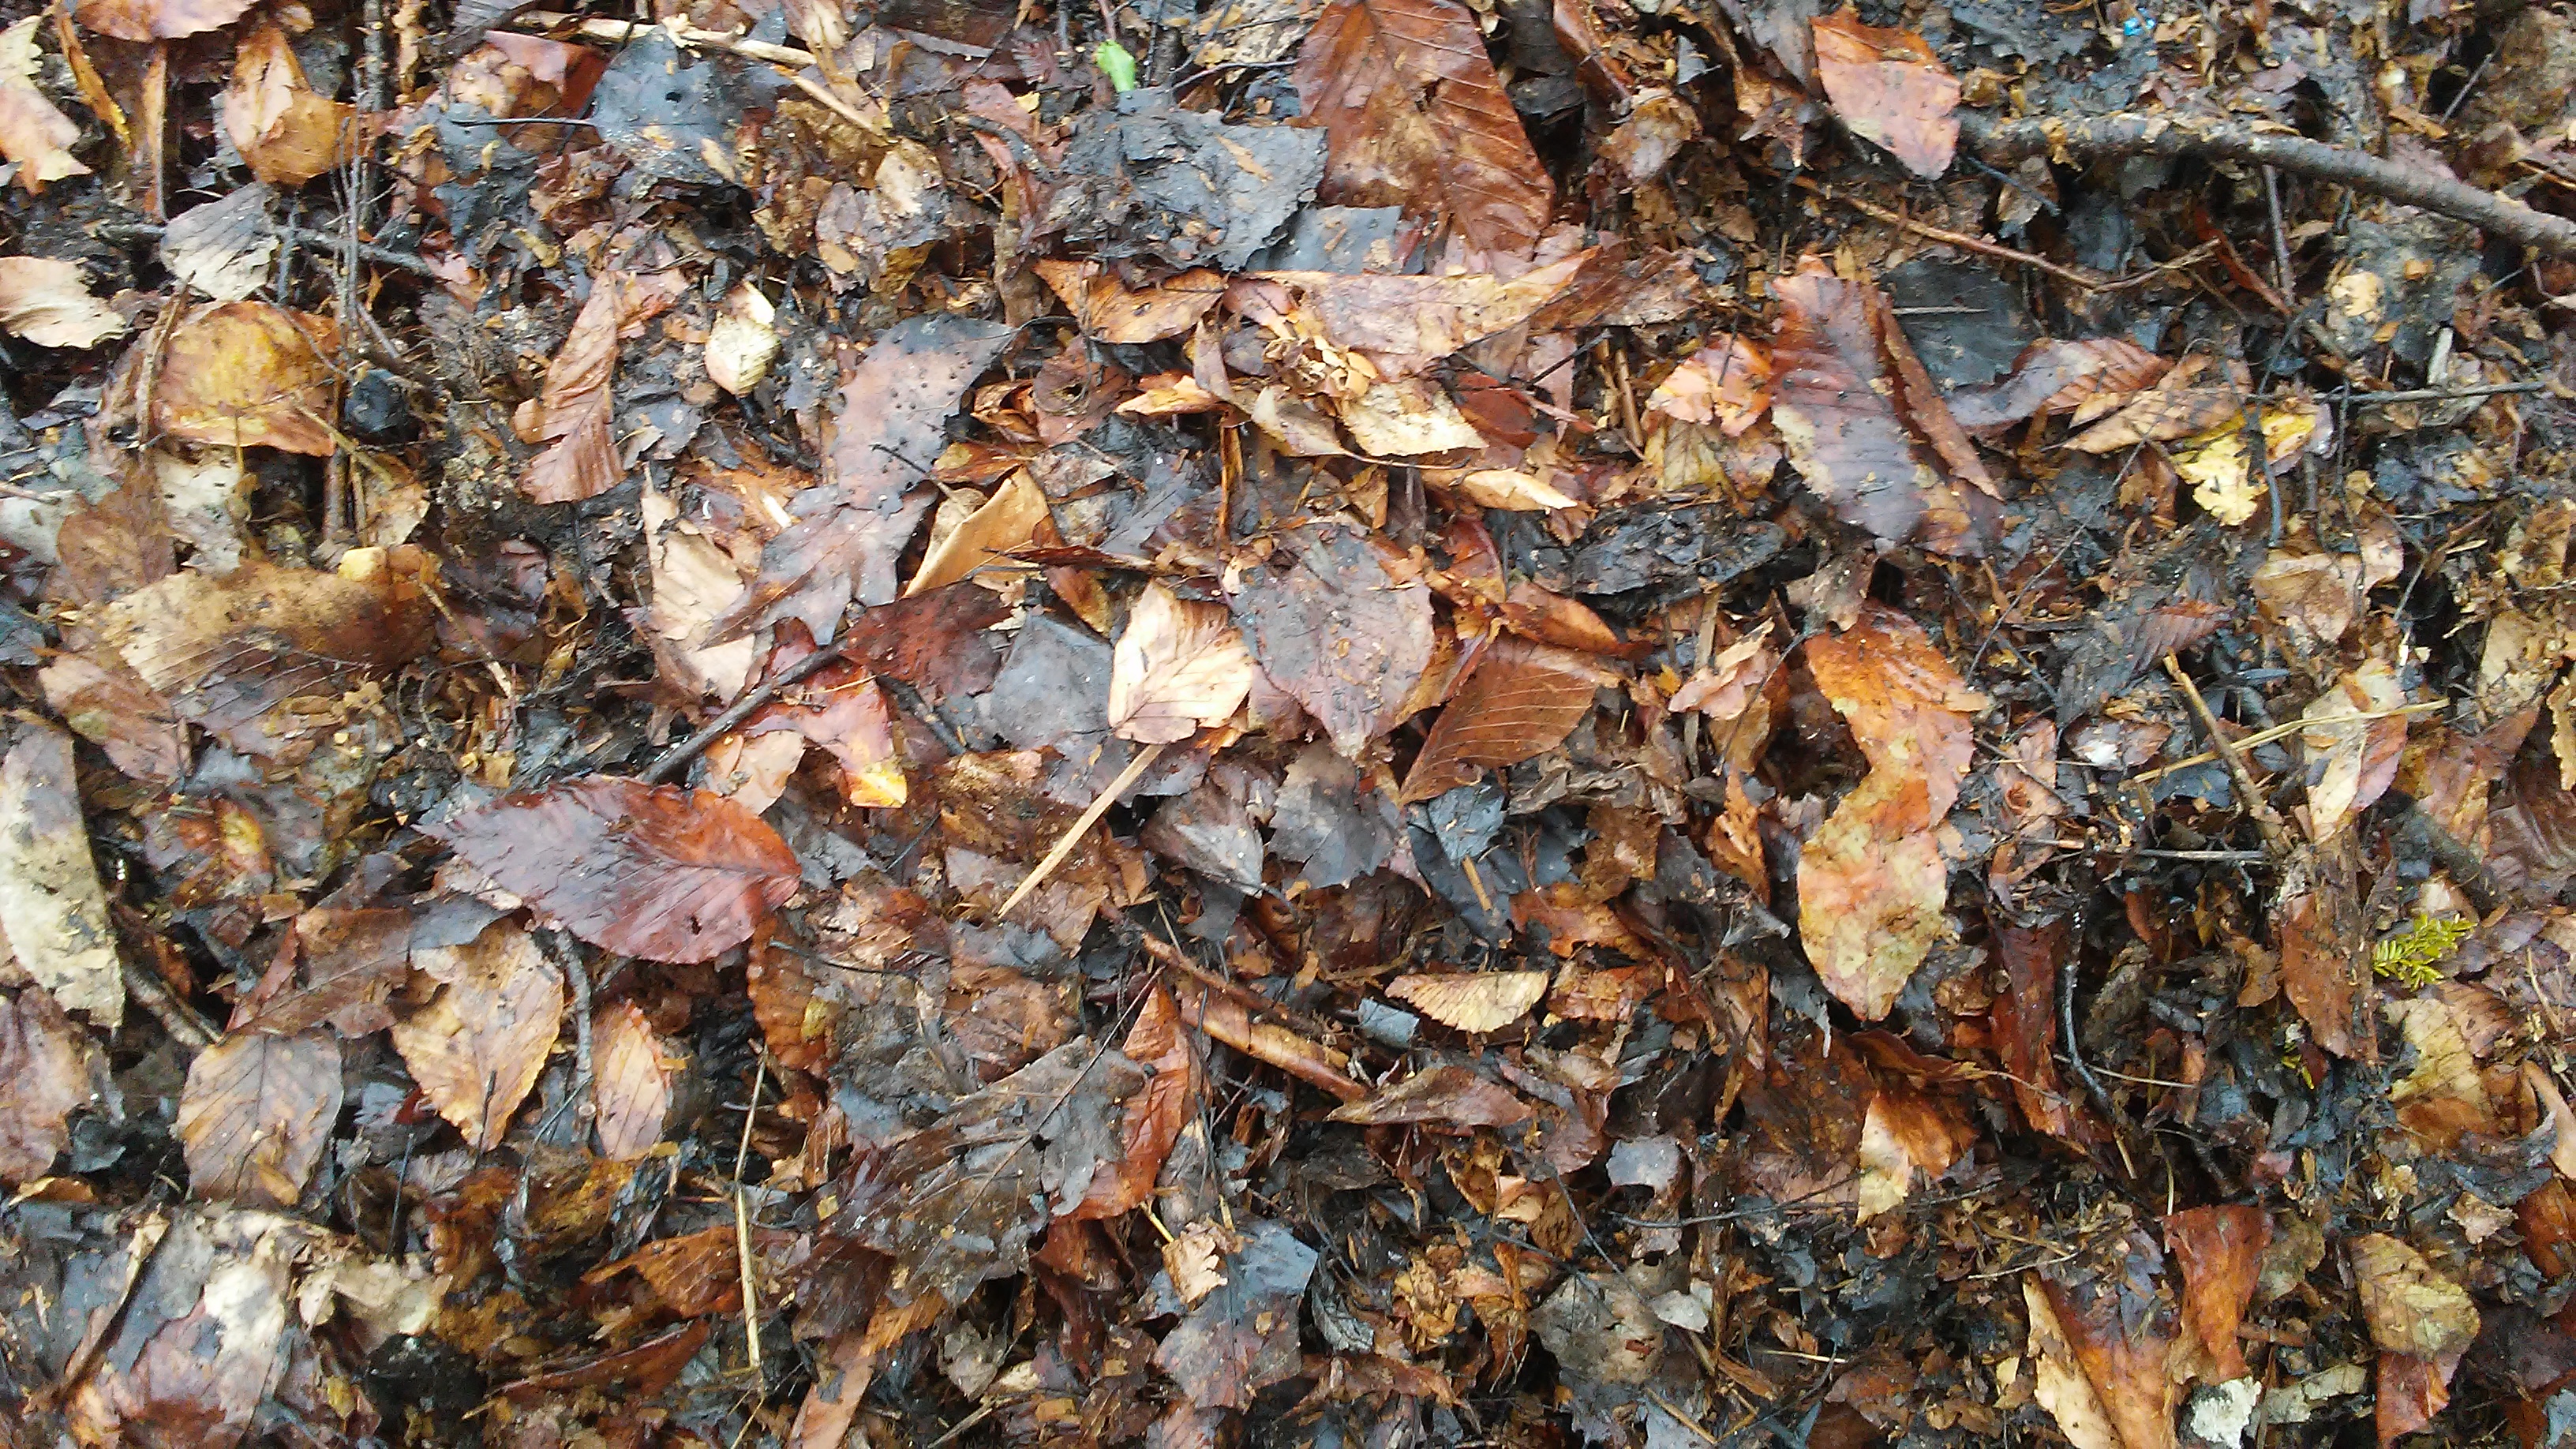
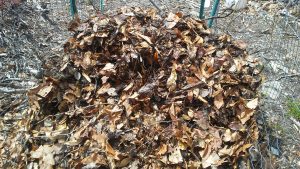
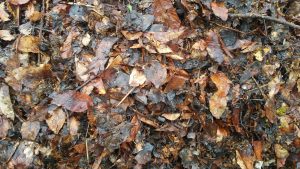
My next layer will be old leaves. You want the ratio of carbon and nitrogen to be 25:1. Your leaves are the carbon.
After the leaves, you add green matter. Grass clippings and kitchen scarps are the greens, the nitrogen. I don’t have grass yet, but I have lots of kitchen scraps. I will also add the partially composted materials I had in an old bin. Continue layering in this manner until your pile is 4 feet tall.
Let the pile sit for a week or two. Then the hard part: keeping it mixed. Every day or two, depending on where you get your info, turn the whole pile. If you keep up on the turning, a few weeks later, you have finished compost. The heat from the pile kills weed seeds, bacteria, and even some of the herbicides and antibiotics that may be on the materials you may salvage.
I will add a picture of the finished compost in a few weeks.
Check out these links for more information:
Permaculture.com-Hot Composting
Hot Compost – Composting in 18 Days
)